Identify Your Breyer | Home | Web Specials | Special Events | Model Horse Glossary | Site Index
Model Horse Vet Care / Repairs
|
|
Disclaimer: Please be careful when using any of the remedies suggested here. While they have been used successfully on many original finish Breyer models there is always the remote possibility that they will not work on yours, and I cannot take responsibility for anything that occurs when you try these remedies. If you have any doubt, test a small area of the affected model first, and always keep an eye on your model during the entire process. If you have any questions or suggestions, please let me know!
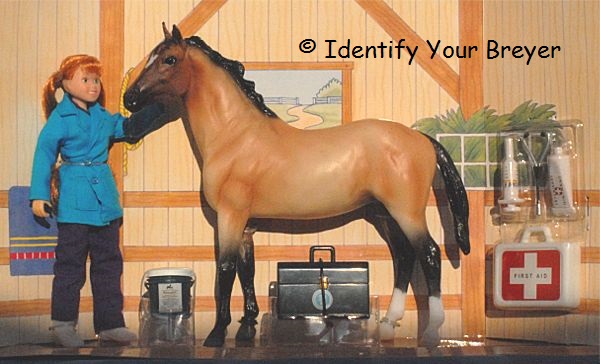
Bent/Warped Legs: If your Original Finish model isn't standing squarely you can use heat to fix those warped legs. The easiest method is to soak the offending leg in very hot tap water for roughly forty-five seconds for an adult model. This will soften the leg enough for you to gently begin moving it back into position--you may wish to use gloves to protect your hands from the heat. You will probably need to re-submerge the leg in order to completely correct the problem. Once your model is in the right position you will need to run cold water over the affected part in order to set the leg in its new shape. Other people have used a hair dryer to provide the heat and the "cool" setting to cool the leg afterward. Be careful when using any heat source. Broken: Breyer has a good section on their website that deals with these problems as well as how to fix scratches. You can get it from the horse's mouth here. Dirty and Scuffed: Models bought at a yard sale or who have fallen on hard times (or on other models) may end up dirty and scuffed. Both conditions can be fixed easily if you have an original finish model. Fill a tub or sink with warm, soapy water (hand dish soap seems to work well) and let your model soak, submersed, for several minutes. Breyers like to float, so you can also get the model wet and soak one side at a time, placing a wet wash cloth on the "up" side to help soak the dirt and grime loose. After ten minutes or so you can use a wash cloth to gently scrub at the dirt and black scuff marks; most should come off easily. For more stubborn spots you can soak longer and/or use a gentle scrubbing sponge or soft toothbrush to remove the scuff marks. Be patient, and be sure to not use too much pressure or you risk damaging the finish. Proceed especially carefully when scrubbing glossy finish models! Models that still have their blue ribbon stickers attached or that have signatures or hand numbering should not be submerged but instead carefully cleaned with warm soapy water and a washcloth, avoiding these areas. Shiny spots: Small shiny spots can usually be removed with a pink eraser. Use gentle rubbing and be prepared for it to take some time. Paint on an Original Finish model: Others have reported success in removing enamel and latex paint added to original finish models by using the cleaning product Lestoil. After first washing your model (see "Dirty and Scuffed", above) fill your sink with very hot tap water. Add 1/2 cup of Lestoil and let your model soak for roughly twenty minutes per side. After this you should be able to just wipe the non-original finish paint off! A toothbrush or fingernail can be used to scrape off those lingering bits. This should be followed by another soap and water wash. Let dry and repeat if necessary. Acrylic paint can be removed with just a soap and hot water soaking, followed by some gentle wash cloth scrubbing. Smoke or other smells: Smoke (usually but not always cigarette smoke) can be easily removed from your original finish models. The first thing to do is wash your model with soap and water--see Dirty and Scuffed, above. If the smell is fairly mild this plus a day or two in clean, fresh air may be sufficient to fix the problem. If not, try placing your model in an enclosed container like a bag or box and put an absorbent material such as activated charcoal, baking soda or cat litter near but not touching the model. Close the box up and let the absorbing begin! For extreme cases you may need to replace the absorbent material after a day or two. Check on your model daily and soon that stinky smell will be history. :-) Yellowing: Breyer models with white areas are prone to yellowing with age and with prolonged exposure to smoke. The most common method of whitening involves just setting your model in a sunny location and letting the sun do its work. Be sure than your model doesn't get too hot while sunbathing, however, as high heat can lead to bloating of the plastic, something that can't be repaired. Whitening may take days or weeks, depending on the model and the amount of bright sun received each day. Another method involves bleach, and has been found to be effective if somewhat risky. Models are soaked in a water/bleach solution (I remember seeing one part bleach to ten parts water used in the past) or in a chlorinated swimming pool. This method can damage gold-painted areas, and too much bleach can fade the color of your model, so please proceed with caution!
|